Showing posts with label Glass. Show all posts

Sunday, January 11, 2015

Soldering tip: How to keep the solder from running through to the back

In this short video I show how to keep the solder from running through small gaps to the back of the piece.

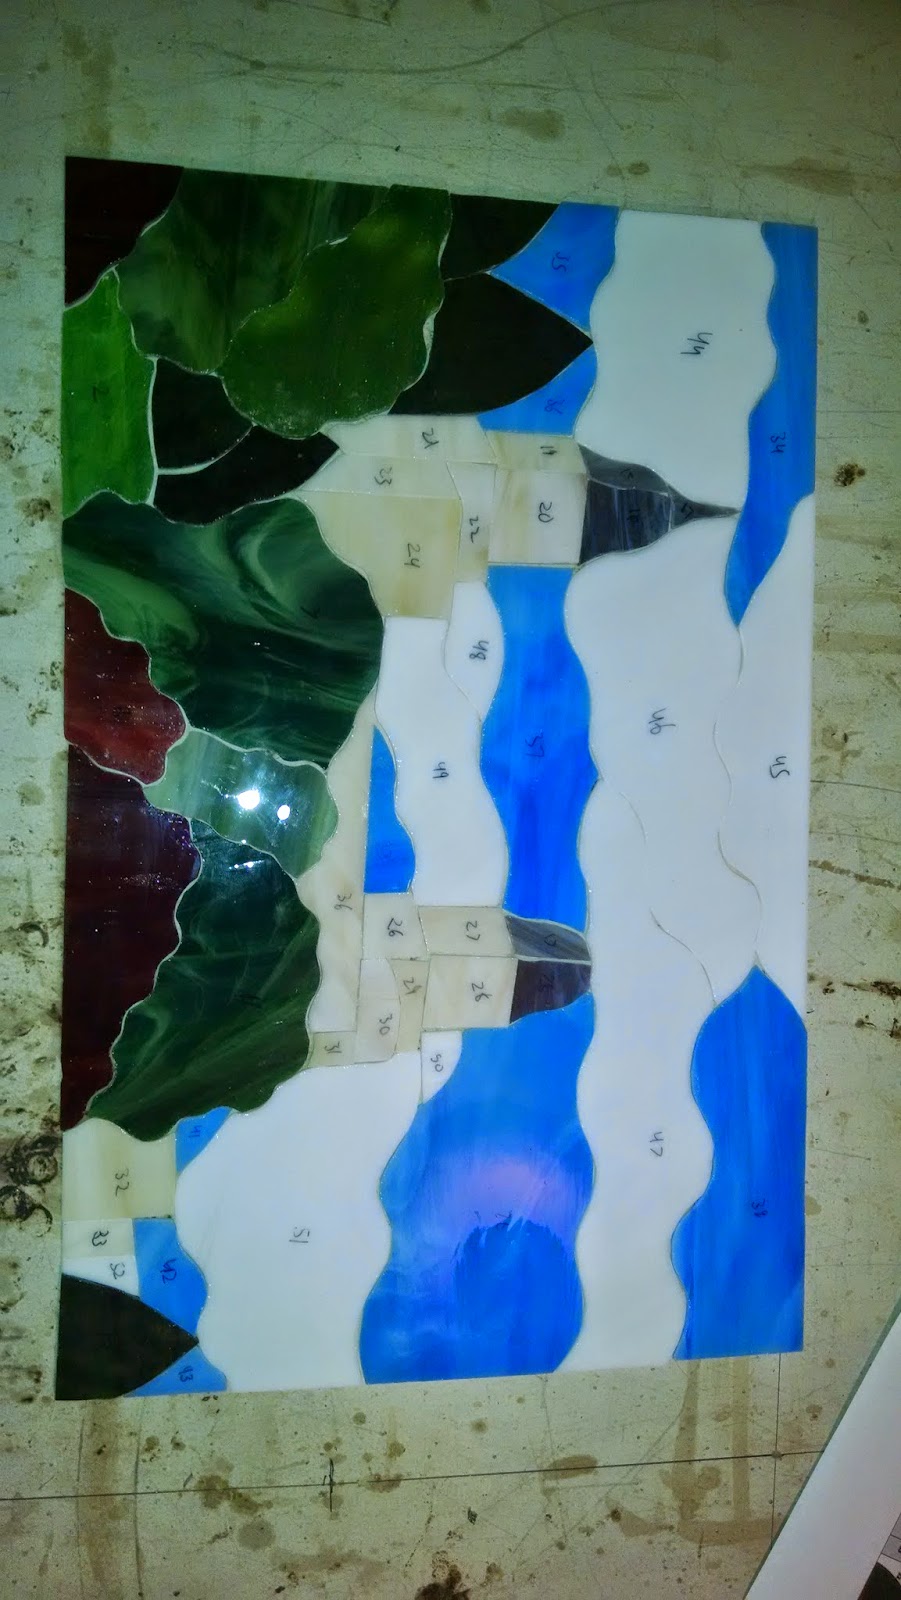
When making a large stained glass panel there are usually some small spots where the pieces don't quite line up perfectly and small gaps appear.  These tiny gaps sometimes result in a small pool of solder on the back side of the piece.  An easy way to overcome this problem is to snip small sections of copper wire to fill the small gaps with.

I use reclaimed electrical wire salvaged from a house that was demolished.  I stripped the sheathing from the wire with a knife and use the wire cutters on my needle nosed pliers to cut it to length.  If you have a gap that runs the length of the piece, you can cut the wire to length and bend it to fit; or, if the gap is just in a small corner, you can just cut a tiny little nub of wire to fill the spot.  as long as the wire does not have a coating on it, fluxing it will allow the solder to stick to it and not pass through to the other side.  I use this technique when the holes are not very big:  if the gaps are too big, I'll re-cut the piece to fit.

Thursday, January 8, 2015

Stained glass Christus


 I was asked to do a stained glass picture of the Christus statue originally sculpted by Bertel Thorvaldsen for my wife's Aunt.  A replica stands in the LDS visitor's center at Temple Square in Salt Lake City. That version is surrounded by a wall mural of space with stars and planets. This picture reflects on that background. I have used little glass bobbles as stars. The panel is 24 inches tall and 18 inched wide and has 154 pieces and is done in the Tiffany style of copper foil and solder.  My wife's aunt said that her husband would make the frame to match their existing decor if I were to make the light box.  I will try and get some pictures of the piece once it is in place at their house with the frame on.  This was a fun commission with surprisingly few pieces.  If you are interested in purchasing one, contact me.


Tuesday, September 9, 2014

Small Manti Temple Stained Glass for a Boy Scout Fund Raiser Auction Piece


This is a small stained glass picture of the Manti Utah temple that I made for an auction for the Boy Scouts in my ward.  It is a little smaller than my regular temples at just under 17" x 11"  Sorry about the orientation of the pictures, I'm going to try and fix them when I get more time.  This was the first picture I deliberately made very squiggly lines.  I think it adds a lot to the picture especially when there are limited pieces like in this piece.


Saturday, August 16, 2014

Stained Glass Timpanogos Temple


Here is a stained glass picture of the LDS Timpanogos Temple.  The glass is 44" tall by 33 1/2" wide.  The frame ads about 5 inches to each side.  It has over 830 pieces.  It is the biggest single piece I have done (the door doesn't count because it was made up of 10 pannels)  It has a light box included and can be plugged in to light it up.  This item is for sale!.  I have finally had some time to make some stained glass that I can sell instead of giving away for a wedding  or Christmas present.  I'll be putting this in the Sanpete County fair and then in the Utah State Fair so that I can hopefully drum up some business.

Update:  This piece won "Best In Show" at the Utah State Fair  this fall.  That was exciting.  It is now for sale on my Etsy store.

Monday, December 9, 2013

Several New Projects

I have been busy lately and have not taken the time to post much.  So, here is a post with pictures of the projects that I have been working on.  Notice that I have been building light box frames for most of my art lately.
Salt Lake Temple with flowers
Bountiful Temple
Stained Glass Nativity
Manti Temple made to go into a door.
Same Manti temple with light coming through
Stand for the Nativity that comes apart for storage.


Thursday, June 27, 2013

Two Tools In One: Stained Glass


I have been working a lot on stained glass lately and thought it might be helpful to show you how I have made my glass cutting more efficient.  I do this by taping my grozer pliers to my glass cutter.  Now this only works with the pistol grip pliers, but I like it a lot.  It only took me a few minutes of using them together like this and I was hooked.  I don't see them as two tools anymore, I go from cutting to nipping with ease and without even thinking about it.

No more dropping one tool to pick up the next, and then dropping that one to go back to the first.  This trick has saved me lots of time and probably some arthritis.  I know it has saved my ears.  All that tool dropping can get loud.

I used blue painting tape because I just wanted to see if it would work and wanted to be able to peel it off if it didn't work well.  Apparently it works great because it has been over a year of using the tools like this and I haven't even thought of replacing the tape.

Try it out and let me know how it works for you.  If you are an entrepreneur and are able to fabricate something like this into a single tool, go ahead, by all means, do it.  But, please send me a pair, cuz remember folks, you saw it here first. 

Monday, April 8, 2013

Finishing up the Light Clay Wood Chip


Here is a video update of the shed.  Winter and other projects and responsibilities have slowed down the progress of the shed, but I have been working more on it lately.  I am just about done with the light clay wood chip infill, and am getting ready for the plaster.  This weekend we installed the door and started putting up the chicken wire over the pallets in preparation for the plaster.

Looking back on this project, I have decided that it has taken A LOT OF WORK!  This way of building is not for the faint of heart.  Some of the painstakingly time consuming things I have done so far are:

  1. The foundation:  stone by stone trying to save as much mortar as possible by fitting each rock neatly within the wall.  Usually masons will slop on a large wad of mortar and roughly fit the rocks together.  It takes much less time, but uses about twice as much mortar.  I used 15 bags.  Even easier would have been to pour cement footings.  The way I did it saved me money, and used up a pile of rocks and used cement curbing dumped in my yard by my neighbor (dumped before I bought the lot[he did insist on taking care of the pile, but I told him I had a use for it])
  2. Salvaging the materials:  I spent hours dumpster diving looking for useful materials. Then, when I got them, I usually had to take out nails, cut of bad parts, or reinforce sections.  Pallet wood is tough and ornery.  The nails don't come out easily, it is hard to cut, and never straight.  
  3. The light clay wood chips: Even though I used a cement mixer this process took forever.  We dug by hand a hole big enough for our trampoline to get enough clay.  We found that the term "light clay wood chips" isn't really "light" at all.  When you try and use a light clay slip to hold the wood chips together, they just become flaky when they dry out (even worse if they freeze while still wet).  It takes a lot of clay to keep the chips stuck together.  Our recipe ended up being something like 1/2 parts water, 1 1/2 parts clay, 1 part wood chips.  The end consistency ended up a lot like plaster.  In fact, I ended up using it much like plaster to patch holes.  That is another problem with the way I used pallets; There were many gaps that I missed while filling up the walls that I had to patch later.
Other time consuming things I have still waiting for me to complete include plastering both inside and outside and putting down the earthen floor.  The upside of both of these is that I will be using far less material to make both products.  The walls of the shed are about 10 inches thick and took a few tones of clay and wood to fill. I plan on putting just two coats of plaster on the walls, so they shouldn't take as much clay .  I will need to sift the clay better, but a good chunk of the plaster will be made of sand.

I am not saying that the methods I have employed are bad, but they are just more than I originally reckoned for.  When I am done, I will have a large, sturdy, environmentally friendly, warm, and comfy shed.  I think I'll turn it into my glass shop.

Monday, October 17, 2011

Salt Lake Temple


It all starts with bottle glass that I have already melted flat.

Ever since people heard that I was going to make a stained glass Manti Temple they have been asking me to do a stained glass Salt Lake Temple.  Well, I finally got around to doing one.  My brother Danny was recently married there, so I decided that as a wedding gift I would make them one.  They were married in June, but I got a new job working for Snow College which required that we all move down to little old Ephraim.  This is something that we have been dreaming about ever since we left Snow College as students.  Sadly we had to leave our amazing garden behind, but it will give us the opportunity to build a new home on some bigger property and put in an even more amazing garden.  It also meant that there was no way that I could finish the temple in time, so it is now a Wedding/Christmas present.  With this piece, I was able to document the process a little better with more pictures.  So here are a few more pictures than usual.

 
This is the dorm room the college set me up with before my family moved down.  I turned it into a temporary glass shop.

Here I am cutting the blue glass for the sky.  You can see that using recycled bottles leaves a lot of "unusable" scrap.  I manage to use most of it in other projects.

Here you can see that I have started laying out the sky pieces ontop of the template.  They haven't been ground yet so they still have the patern paper glued on..
 

Now that they have been ground to the
 right shape the paper patern has been removed.

Finished the sky and working on the trees.  The greens are also recycled bottles.


Finished up the trees and starting the temple.  The gray glass had to be bought because there are no gray bottles.

I started putting the copper foil on before everything was cut out because I can watch movies and foil at the same time.

Here is the temple all cut out and about half foiled.  I ran out of foil and had to go to Salt Lake to get more. The tan glass was also bought for the same reason as the gray.

Starting to solder.  I think it looks a lot better with solder on it.  The solder hides a lot of the small mistakes.


Finnished solderingthe front side.  I have to be extreemly carefull flipping it over to solder the back side.

Soldering the back side.  The back ususlly goes much faster than the front because I don't have to be constantly checking that the pieces are straight.  Before they are soldered together the peices like to wiggle around a little.
 
Close up of the focal point Angel Moroni

Close up of the western spires.


Friday, January 21, 2011

Christmas Presents

A little Late, but here are some of the projects I did for Christmas.  As always, you can click on the pictures to enlarge them.

Stained glass Mickey Mouse


This Mickey was for my boss who is a huge fan.  100% recycled glass.


Stained Glass Humming Bird and Iris
 These two were requests.  I had made these two before and gave them to my Mother in Law who hung them up in her classroom at school.  This time they were made for someone who saw them in the window and wanted me to make them one as well.  Both are 100% recycled.


Stained Glass Joseph
 Here is Joseph for a stained glass nativity.  About  80% recycled glass and 20% reclaimed glass.


Mary & Jesus for a Nativity

 Here is Mary for the stained glass nativity. She is also about 80% recycled glass and 20% reclaimed glass.


The "complete"  Nativity

 Here is the whole family together just after opening on Christmas day.  I actually made two of these Nativity sets.

Thursday, December 30, 2010

Mesa Temple

Michael holding up his new Christmas present

  Among the several stained glass Christmas presents I made this year was a picture of the Mesa Arizona LDS Temple. With seven siblings it can be a big hassle to get everyone a present, so we rotate who we get presents for each year. This year we had my brother Michael and his wife. They were married in October 2009 in the Mesa Temple, so I decided to make them a stained glass picture of the temple.
 Almost all of the glass is recycled. The bumpy blue in the water, the bumpy green bushes and the opaque green grass are the only colors that were not recycled. The temple and the wavy royal blue in the sky is made of light sconces, the windows were made of a vase, and the rest of the colors are made of bottles.
 Here you can see the neat swirly patterns that come from the light sconces.  These pictures were taken just after the soldering was finished.  The zinc frame and black patina hadn't been put on yet.

 One thing about using recycled glass is that bottles don't produce large sheets of glass.  So, large expanses need to be broken up into smaller pieces.  This is why the sky and water were designed with a wavy style.
One thing that struck me when we attended the wedding was the extra warm climate.  It was above 80 degrees in October.  I felt like I had to incorporate the palm trees into the picture.

Tuesday, October 26, 2010

Manti Temple

Stained Glass Manti Temple


Trees in front of the temple
I finally finished it!  After a long and time consuming marathon of stained glass, I was finally able to finish the stained glass picture of the LDS Manti Temple.  This beauty took over 80 hours of work, but I was able to get it done in about a month.  The temple is made of light sconces I melted flat, the windows, roof, and trees are also recycled bottles I melted flat.  The sky and grass are made of salvaged stained glass I bought.  Even the frame is made of salvaged molding. 


Manti Temple west tower with light rays

This is by far the biggest, most difficult, and most rewarding piece I have made so far.  It has just over 500 pieces in it. 
Unfortunately there is no income off of this one; it was a wedding present for my brother-in-law and his new wife…they had better like it ;)  I hope to be able to start making more large pictures like this one soon.